Labels

Showing posts with label Dessert. Show all posts

Tuesday, March 6, 2012

Chewy Chocolate Chip Cookies

My last post was a crazy good recipe for making Homemade Coffee Creamer, so I figured what could possibly go better with coffee than some delectable, chewy, scrumptious, perfectly-perfect chocolate chip cookies?
Everyone has their favorite style of chocolate chip cookies and many of you probably have a recipe that you always follow.  I always follow good-old Betty Crocker, because that's what my Mom does, BUT let me tell ya, this recipe just slid into home base and there's no going back, baby.  Sorry Betty and Mom, but this is the new chocolate chip recipe.  
Have an open mind and give it a try.

There is an unusual ingredient in the recipe for these especially chewy cookies, I'll see if you notice what it is.


You should probably make these when you are going to have company, unless you want to eat the whole batch.  Yup, that's how good they are.  NO joke.


Ultra-Chewy Chocolate Chip Cookies
(inspired by Apple A Day Blog)

3/4 c. butter, softened
3/4 c. brown sugar
1/4 c. sugar
1 egg
2 tsp. vanilla
2 c. all purpose flour
2 tsp. cornstarch
1 tsp. baking soda
1/2 tsp. salt
1/2-1 cup chocolate chips (depending on how many chips you like, I prefer less chip and more cookie)

Preheat oven to 350*  Line cookie sheets with parchment paper (PLEASE go buy parchment and USE it if you haven't don't this yet.  It makes perfect cookies.)
Cream butter and sugars until light and fluffy.  Add egg and vanilla; beat until smooth.
Mix in dry ingredients.  Stir in chocolate chips by hand.
Drop dough onto parchment lined cookie sheet, bake for 8-10 minutes or until lightly gold.  Don't overcook!
Makes 2 1/2 dozen.


Later this week, I'm going to post about my trip to LA last week.  Lots of Disney, family and beach time.
Enjoy your coffee and cookies.
D

Thursday, February 23, 2012

Freezer Oreo Cheesecakes

AND.....It's time for a naughty recipe!  I thought this day would never come.  Posting healthy recipes is fun and all, but the desserts just hold a special place in my heart.  
So I'm sure many of you have seen these mini-cheesecakes on Pinterest.  That's where I got the idea to make them.
Originally, I simply followed the recipe and thought they turned out great!  Then Greg, the genius he is, said, "I think we should put them in the freezer!" 
AND the lightbulb went off.
Brilliant!


Here we go.
This recipe makes about 16 mini cheesecakes. 
Put liners in a muffin pan and simply place an Oreo in the bottom of each liner.


Now the filling.  Can you really go wrong with cream cheese, sugar, vanilla, eggs, & sour cream?
First, beat the softened cream cheese until smooth.
Next, add in the sugar & vanilla until smooth.
Finally, beat in eggs.
Lastly, combine sour cream until silky smooth.


Stir in chopped cookies.


Spoon filling into cookie-lined muffin tins and bake @ 300* for 20-25 minutes or until filling it set (AKA it doesn't jiggle when you shake the muffin pan!)

Cool completely and place in freezer from 8+ hours (or overnight) until firm.


CONSUMER WARNING: Having these scrumptious morsels in your freezer can seriously test your self control.
RECOMMENDATION: Treat your favorite friends & family to their own individual cheesecakes, in order to spare your own backside a few pounds. :)


Nom. Nom. Nom.

Of course, you could just refrigerate these, but the texture of these when they are frozen is absolutely brilliant.  Trust me.

Freezer Oreo Cheesecakes
(makes about 16 servings)

22-25 Oreos (16 left whole for "crust", and coarsely chop remaining cookies for filling, about 1 cup)
1 pound (2, {8oz.} bricks) of light cream cheese, softened
1/2 c. sugar
1 tsp. vanilla
2 eggs
1/2 c. light sour cream

Preheat oven to 300*.  Put liners in a muffin pan and simply place an Oreo in the bottom of each liner.  Beat cream cheese until smooth.  Gradually beat in sugar & vanilla.  Add eggs, beating to combine.  Lastly, beat in sour cream and stir in chopped cookies by hand.
Fill cookie-lined muffin cups with prepared filling.
Bake about 20-25 minutes or until filling is set.
Cool completely and place in freezer for 8+ hours or overnight.
Enjoy.

(Feel free to double the recipe if you are making these for a crowd, because they will be wildly popular)


Monday, February 13, 2012

Sugar Cookies for your Valentine

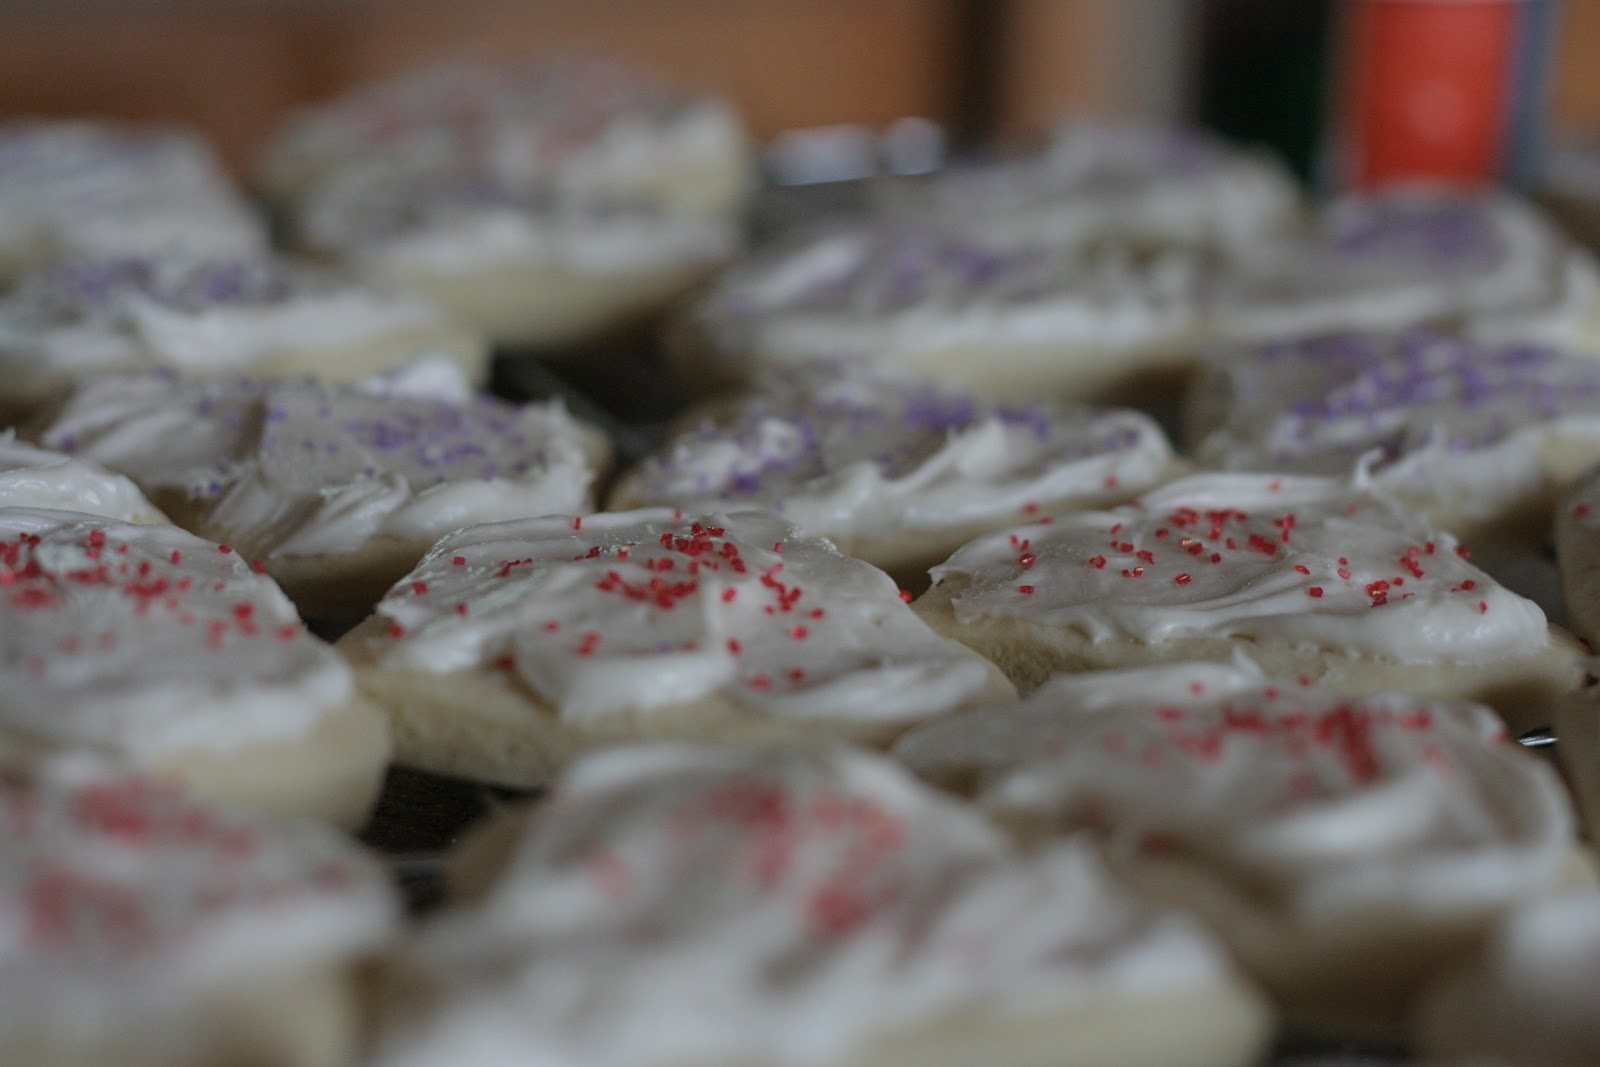
My dearest friend Kay Cee and I called these cookies "THE cookies" because once you've had them, there really isn't ANY cookie that is better.  If you like your sugar cookies soft and chewy, then this is the recipe for you.  


The first time Kay Cee made these cookies, I'm pretty sure I gained 5 pounds in like 2 days, but it was SO worth every ounce.  "THE" cookies are usually made for Christmas, but I decided to make them for my sweet lineman for Valentine's Day this year.   Kay Cee and I are also going to make these cookies for my wedding in August.  That's how good they are, they are wedding worthy.  Seriously.


"THE" cookies also remind me of a little roadtrip I took with Kay Cee and her hubby, Sean. We went to the airport to pick up my sweet lineman, and it was a happy memory where we all ate cookies in the truck, enjoyed the winter scenery, and simply chatted like only old friends can do.  Then we went out to a nice Italian restaurant.  Every time I think of "THE" cookies, I always think of that day and it makes me smile.  Those were my pre-trailer trash days, when Greg and I only got to see each other every couple months.


Valentine's Day is also kind of special for Greg and I because we consider it our "Anniversary" ..... because neither of us can actually remember when we became a real "couple", it was sometime during the winter and Valentine's Day was easy to remember, that's how we decided on that!
Happy 6 Year Anniversary Greg!


I also decided that when I post cookie recipes, I am only going to post pics of the finished product.  All cookie recipes are generally the same, how many pictures of creamed butter and sugar can a person really look at?  I hope you don't mind!
PS. Just try to practice self control :)


Frosted Sugar Cookies

2 cups butter, softened
1 & 3/4 cups sugar
5 eggs
3 tsp. vanilla
5 tsp. baking powder
7 cups flour


Preheat oven to 350*. Cream butter & sugar until smooth.  Add eggs & vanilla, beat until well combined.  Add baking powder and flour, 1 cup at a time until a soft dough forms.
Pour dough out onto a floured surface and roll out to 1/4" thick.  Use your favorite cookie cutter depending on the holiday.  Bake 8-10 minutes. (Cookies don't brown much, they will be light in color)
Allow to cool completely and frost with Cream Cheese Frosting.

Cream Cheese Frosting

1 (8oz) package of cream cheese, softened
1/4 cup butter, softened
2-3 tsp. milk
1 tsp. vanilla
4 cups powdered sugar

Beat cream cheese, butter, milk & vanilla until smooth.  Add powdered sugar 1 cup at time.  Use to frost your favorite cookies or cakes.


Wednesday, January 4, 2012

Pumpkin Bread. Quick, Healthy & Tasty!


I am weaning myself off of the sweets.  Goodness, it is so easy to get into a food slump that requires a daily punch of sweets to keep you going.  My weakest time of the day is the afternoon, think 2-4 O'clock PM.  During this time, it's too early to start thinking about dinner (or wine!), but it's too late for lunch --- so what does that equate to in my world?  Something sweet and a cup of tea!  

There are many things in the food kingdom that could satisfy a sweet craving, but when you fall in a slump the real sugary, processed stuff always hits the spot.  Well I'm breaking that slump and you should join me.  The hardest part is making the choice, do I have a cake/cookie/etc (processed junk) with my tea or do I have something with some substance to it?  The cake/cookie/etc (insert favorite sweet) has virtually no nutritional value.  It leaves you temporarily satisfied, but likely to go back for more. 

Again, the choice is the hardest part.  Once you move past the junk and have some real food, it's not so hard.  This recipe is great for the rest of you guys that are weaning yourself off the processed junk.  I realize this recipe still has some processed ingredients in it, but it's a far cry from the usual suspects (cake, cookie, candy bar, etc).  It's whole grain (whole wheat flour), healthy fats (olive oil), vitamin-rich (pumpkin puree, seeds) and tastes great.  


I think ignoring your body and avoiding sweeter stuff all together is a set up for failure.  It will likely lead to overeating eventually.  So allow yourself to eat what your body craves, but tweak it to make it healthier!  If you stick with it you'll eventually go for the healthy stuff automatically!   I've also been having fresh fruit, dried fruit/nuts, yogurt, whole grain toast/PB/honey, and dry cereal for sweet satisfiers. 

This is such a tasty recipe to fill the afternoon void, or even for breakfast with a little lowfat cream cheese.

Plus, it's a "quick bread" recipe, so it's extremely easy.  All quick breads involve the following steps:
1. Mix dry ingredients
2. Mix wet ingredients
3. Combine wet & dry  (DO NOT OVER STIR! It's makes the bread tough and "tunnely")
4. Pour into pan & bake
5. Insert in mouth!


This recipe was adapted from a great blog called  My German Kitchen...in the Rockies. Check it out.


Healthy Pumpkin Bread Recipe

*  3/4 cup whole wheat flour
*  2/3 cup unbleached all purpose flour
*  1/2 teaspoon baking powder
*  1 teaspoon baking soda
*  1 teaspoon cinnamon, ground
*  1/2 teaspoon nutmeg
*1/4 teaspoon cloves
*  1/4 teaspoon kosher salt

*  2 eggs
*  1 cup canned pumpkin puree (not pumpkin pie filling!)
*  1/3 cup brown sugar
*  1/3 cup extra virgin olive oil
*  1/3 cup honey

*  2 Tablespoons pumpkin seeds/pepitas

Mix the above dry ingredients in a large bowl.  In a separate bowl, mix the wet ingredients until well combined.  Add the wet and dry ingredients together and stir with a wooden spoon just until combined.  Don't over stir!
Pour batter into a greased loaf pan and sprinkle with pepitas.   Bake in a 350* oven for 40-45 minutes or until a toothpick inserted in the center comes out clean.  Allow to cool for 10-15 minutes before removing from loaf pan.

(At high elevation this bread took about an hour to bake.  I'm still getting used to the elevation factor)

Enjoy!
D

Thursday, December 22, 2011

Oatmeal Raisin Cookies - Oh, So Soft & Chewy!

This is a total shocker to many of you chocolate lovers out there, but I'd rather have rich & creamy... or sweet & fruity ... or sugary & spicy.  Either way, this recipe definitely satisfies that sweet tooth.  This cookie recipe just plain kicks butt.

I think Santa would enjoy it, too.  It might just get you back on the "nice" list at the last minute!

What is the perfect oatmeal raisin cookie to you?
Does it have a slight crisp on the outside and a perfectly soft and chewy center?
Is it cinnamon-y and sweet?
Does it even have a glaze on it?

If you answered yes to any of these questions, then this recipe is a "must-have" in your repertoire of cookies!


Another bonus of this recipe is that it uses melted butter.  I mean, who really remembers to put butter on the counter for a few hours to let it soften?  I can honestly NEVER remember to do this.  So cookie recipes that use melted butter automatically go to the top of my list.

Here's your ingredients:


In a medium bowl, combine dry ingredients, except oats, raisins, & nuts.
In a separate bowl, cream the melted butter and sugar.


Beat in the cinnamon, vanilla, egg/egg yolk for 2-3 minutes until light and creamy.
This seems like a long time, but just trust me!


Beat in the dry ingredients until well blended.  Then stir in your oats, raisins, & nuts (optional).


Drop spoonfuls of dough on a cookie sheet lined with parchment paper.  And if you're thinking about skipping the parchment, think again!  Parchment makes your cookies perfect!  JUST DO IT!

Bake in a 325* oven for 14-16 minutes.

Or if you're like me, living in a trailer with a fussy oven at 5,000 ft elevation, they took about 20 minutes.


Allow your cookies to cool on the cookies sheet for a few minutes before placing on cooling rack.


If this doesn't look scrumptious enough....there's more!


Grab your milk & powdered sugar and get ready to get wild!


In a small bowl, dump in 1/3-1/2c powdered sugar and a couple teaspoons of milk.


 Whip it up with a fork until smooth.

If it's too runny, add more pow.
If it's too think, add more moo.

You want it to be a nice consistency that you can drizzle over your cookies.


Once your cookies are cool, drizzle the glaze over those beauties!  Isn't that stunning!?  You know you want to make these.  Go ahead, I give you permission.  It's the perfect cookie for Santa.


Here's the recipe:
Chewy Oatmeal Raisin Cookies

2 cups all-purpose flour
½ teaspoon baking soda
½ teaspoon salt
¾ cup butter, melted (1½ sticks)
1 cup packed brown sugar
1/3 cup white sugar
1 teaspoon cinnamon
1 tablespoon pure vanilla extract
1 egg
1 egg yolk
1 ½ cups old-fashioned oats
1 heaping cup raisins
½ cup chopped walnuts or pecans (optional


Melt butter and let cool slightly. 


Preheat the oven to 325 degrees. Line cookie sheets with parchment paper. Your cookies turn out so much better with parchment paper. Believe me! Buy some!

Mix dry ingredients (flour, baking soda and salt).

In a separate bowl, cream butter & brown/white sugar until well blended. Beat in the cinnamon, vanilla, egg/egg yolk for 2-3 minutes until light and creamy. Blend in dry ingredients. Add the oats, nuts, and raisins.

Drop spoonfuls of cookie dough onto parchment lined cookie sheet and bake for 14-16 minutes. Don't over-bake! The edges should look brown and the centers still soft. Let the cookies rest on the cookie sheet for a couple of minutes before moving to cooling rack.


Optional Glaze
1/3-1/2c powdered sugar
2-3 teaspoons  milk


Combine ingredients in a small bowl and whip until smooth.  Drizzle over the top of cooled cookies.

Tuesday, December 20, 2011

Grasshopper Pie

Yesterday was Greg's birthday and we spent it in the middle of no-where, sub-arctic Idaho.  It was -7* degrees this morning! I was feeling kind of bad that he had to spend his birthday working in the cold, so I wanted to make him a cake.  The problem with this is that we are staying in the cabin shown below:


Even by my trailer-trash standards, it's tiny.....and it has no oven. So a cake was out of the question.  But I had to make him a dessert, because he has been OBSESSED with sweets lately.  Which is WAY out of character.  For the past 5 years of our relationship, he has been the guy that says, "I'm not into sweets."  As for me, I won't let any form of sweets past me!  Within the last 6 months or so, he has become a sweet-monger! And I'm loving it!  He finally understands my post-dinner sugar cravings!  So I decided to make him an ice cream pie!

Ok, this is really simple. Here's what you need:  A graham cracker crust, chocolate mint cookies (or Oreos), and chocolate chip mint ice cream.
As you can see, the store around here only carries "Western Family," so the whole sha-bang is generic!  You would think the generic brand would be cheap, right?  Not in BFE!!  This is the only store within 30 miles, and it's wickedly pricey.  The guy in front of me paid $10 for a bag of string-cheese.  Wow.


Moving on.  Let your ice cream sit at room temp until it's softened.
Sneak a couple bites to make sure it's ok for your guests ;)


Spoon the softened ice cream into your prepared crust.  You could always make your own crust.  Graham or Oreo crust would both be good.


Next place a few cookies into a plastic bag and crush them with a mallet or the back of your hand.


Be sure to leave a some big chunks. Come on, everyone likes big chunks!


Now sprinkle your crushed cookies on top and put the pie in the freezer for 6-8 hours.  The longer the better.


And if you're an idiot like me, and you want to surprise the birthday boy, light candles over the ice cream when you think the birthday boy is getting out of the shower.....  Except he stayed in there for another 5 minutes and the cake was melting!  Here's a little advice, light the candles and immediately blow them out!


There's the birthday boy digging into his cake!


Since it was just the 2 of us, we ate it straight out of the  pan.  Classy, I know.  You really can't go wrong with cookies & ice cream.


Feel free to change this recipe to whatever your favorites are.  Think cookie dough ice cream and crushed chocolate chip cookies.  Or peanut butter ice cream and Reese's.  Or chocolate ice cream and Butterfingers.  I could seriously go on forever.

Enjoy.
D

Tuesday, November 29, 2011

Crazy Cake - Best. Chocolate. Cake. No question.


SO today is my birthday.  Except it really doesn't feel like my birthday because I'm in Utah hanging out in a fifth wheel trailer with.......my dog.  Just me and the k9, yeah it's a crazy party in Salt Lake City!  Not to toot my own horn, but normally on this day, I have coffee dates, lunch plans and of course a birthday dinner with cake.

Whenever I'm asked what kind of cake I want for my birthday, the answer is "Crazy Cake."  My mom has been making this cake as long as I can remember....and for good reason.  IT. IS. THE. BEST.  There is no question that this is the moistest, tastiest, most perfect chocolate cake.  And guess what?  It's the easiest cake you will EVER make.  That's right my friends, it's decadent and easy to make.  How often does that happen with desserts? 


So what am I doing on my birthday?  Well, I bought myself a darling dress, got all done up and baked myself a birthday cake!


OK, here's the cake ingredients, minus the vanilla.  I always seem to forget at least 1 ingredient.


Ok, here's the first step.  This is really complicated.  Are you ready?......Dump all the dry ingredients in a 9x13 cake pan and stir until well combined.  


Next step, again this is SO tough.  Add the wet ingredients; stir well.

Put the pan in a 350* oven for 30 minutes.

Final step. This one is the most difficult.  EAT!


Make sure you put this recipe in a special spot. It's one of those recipes that will be passed down from generation to generation.  


Crazy Cake

3 c. Flour
2 c. Sugar
4-6 TB cocoa powder
dash of salt
2 tsp. baking soda
2/3 c. canola oil
2 c. water
2 tsp. vanilla
2 TB. white vinegar

Place dry ingredients in a 9x13 cake pan and stir.  Add wet ingredient, stir until well combined. Bake @ 350 x 30 minutes.  Check the middle with a toothpick.  Allow to cool.

Variations:
Add chocolate chips, PB chips, mint chips, etc.
Frost with your favorite frosting.
OR just dust with powdered sugar.

Sunday, November 20, 2011

Ooey. Gooey.... Everything Bars

Do you ever just feel like baking something?  And when that feeling comes, there's NOTHING that's going to stop you from doing it?  Then you end up "testing" too much batter, dough, etc and don't even eat any of the finished product.  That's what happens to me.  I get the baking itch, gorge on batter and feel too sick to eat anything else.  But it's worth every spoon full and belly ache :)
This is why I try not to bake very often, I have no self control.  My best trick to keep from eating the dough is to brush my teeth immediately before baking or chewing gum.  Sometimes it works, sometimes it doesn't!  Sometimes it just turns chocolate into chocolate mint!  
Anyways, I got the baking itch a few weeks ago and wanted to make something different that used up a bunch of stuff in the pantry.  So I decided on a gooey cookie bar with a little-bit of everything in it.

Here is the cast of naughty characters:

Flour, graham crackers, sugar, brown sugar, butter, peanut butter, vanilla, eggs, marshmallows, baking soda, salt, chocolate chips.


Start by making your crust layer.  Crush your graham crackers. I used a ziploc bag and my the heel of my hand to pound away and create graham cracker crumbs.  Of course, if you were extra lazy, you could always just used pre-made graham cracker crumbs....but I like bigger, chunkier crumbs.
(Oh, look at that pretty yellow diamond ring!!! )


Now pour your crumbs in a big bowl, add sugar and melted butter. Stir to combine.

Pour the crust into a sprayed 9x13 baking dish.  Firmly press the crust into your dish, like so!  Bake crust for about 7 minutes and allow to cool.


OK, next step.  The "guts" of the cookie bar.  There's a little bit of everything in this layer.  Pretty much everything delicious that exists in the baking world.


Cream your butters (softened butter and peanut butter) with your sugars (granulated and brown).  Add eggs and vanilla; AND just beat it!


Now comes the addition of dry ingredients: Flour, salt, baking soda and combine with a wooden spoon.


Next comes the naughtiest ingredients: Marshmallows and chocolate chips.  I didn't have mini marshmallows, so I just chopped up the big ones and it worked just fine.


Pour all that goodness on top of the crust and press into an even, layer.


Sprinkle some more marshmallows on top and pop it in the oven!


Finished product

Serve it warm, serve it cold, put chocolate syrup on top, or don't.  Anyway you do it, it's naughty, it's killer, you'll feel guilty.  But OH-SO worth it :)  Come on, it's not like we eat this stuff everyday, right?!?


  • FOR THE CRUST:
  • 1-½ cup Graham Crackers (crushed)
  • ⅓ cups Butter, Melted
  • ¼ cups Sugar
  • FOR THE TOP LAYER:
  • ½ cups Butter, Softened
  • ½ cups Peanut butter.
  • ¾ cups Sugar
  • ¾ cups Brown Sugar
  • 2 whole Eggs
  • 1 teaspoon Vanilla
  • 2-¼ cups Flour
  • 1 teaspoon Salt
  • 1 teaspoon Baking Soda
  • 1/2 packageChocolate Chips
  • 1-¼ cup Mini Marshmallows + more for topping


Preheat oven to 350ºF.
Mix together the graham cracker crumbs, melted butter, and sugar. Press into the bottom of a greased 13×9 in pan. Bake for 7 minutes. Allow to cool slightly.
For the top layer, cream butter, peanut butter, sugar and brown sugar together. Blend in eggs and vanilla. Stir in flour, salt and baking soda. By hand, mix in the chocolate chips and marshmallows.
Spread over the graham cracker crust. Bake for 25-30 minutes, until golden brown.  Remove and allow to cool slightly before cutting. Enjoy!